A few weeks ago I built some custom firmware to turn the Ulanzi TC001 desktop clock into a Stripe subscription statistics and notification doodad.
Here's a fun little simulator that demonstrates the various screens and animations it has now:
This is a WASM compiled variant of the project's integrated simulator that I added so I could iterate on the design without having to flash the device repeatedly. The buttons along the bottom trigger various screens and are just for debugging; they don't appear on the device.
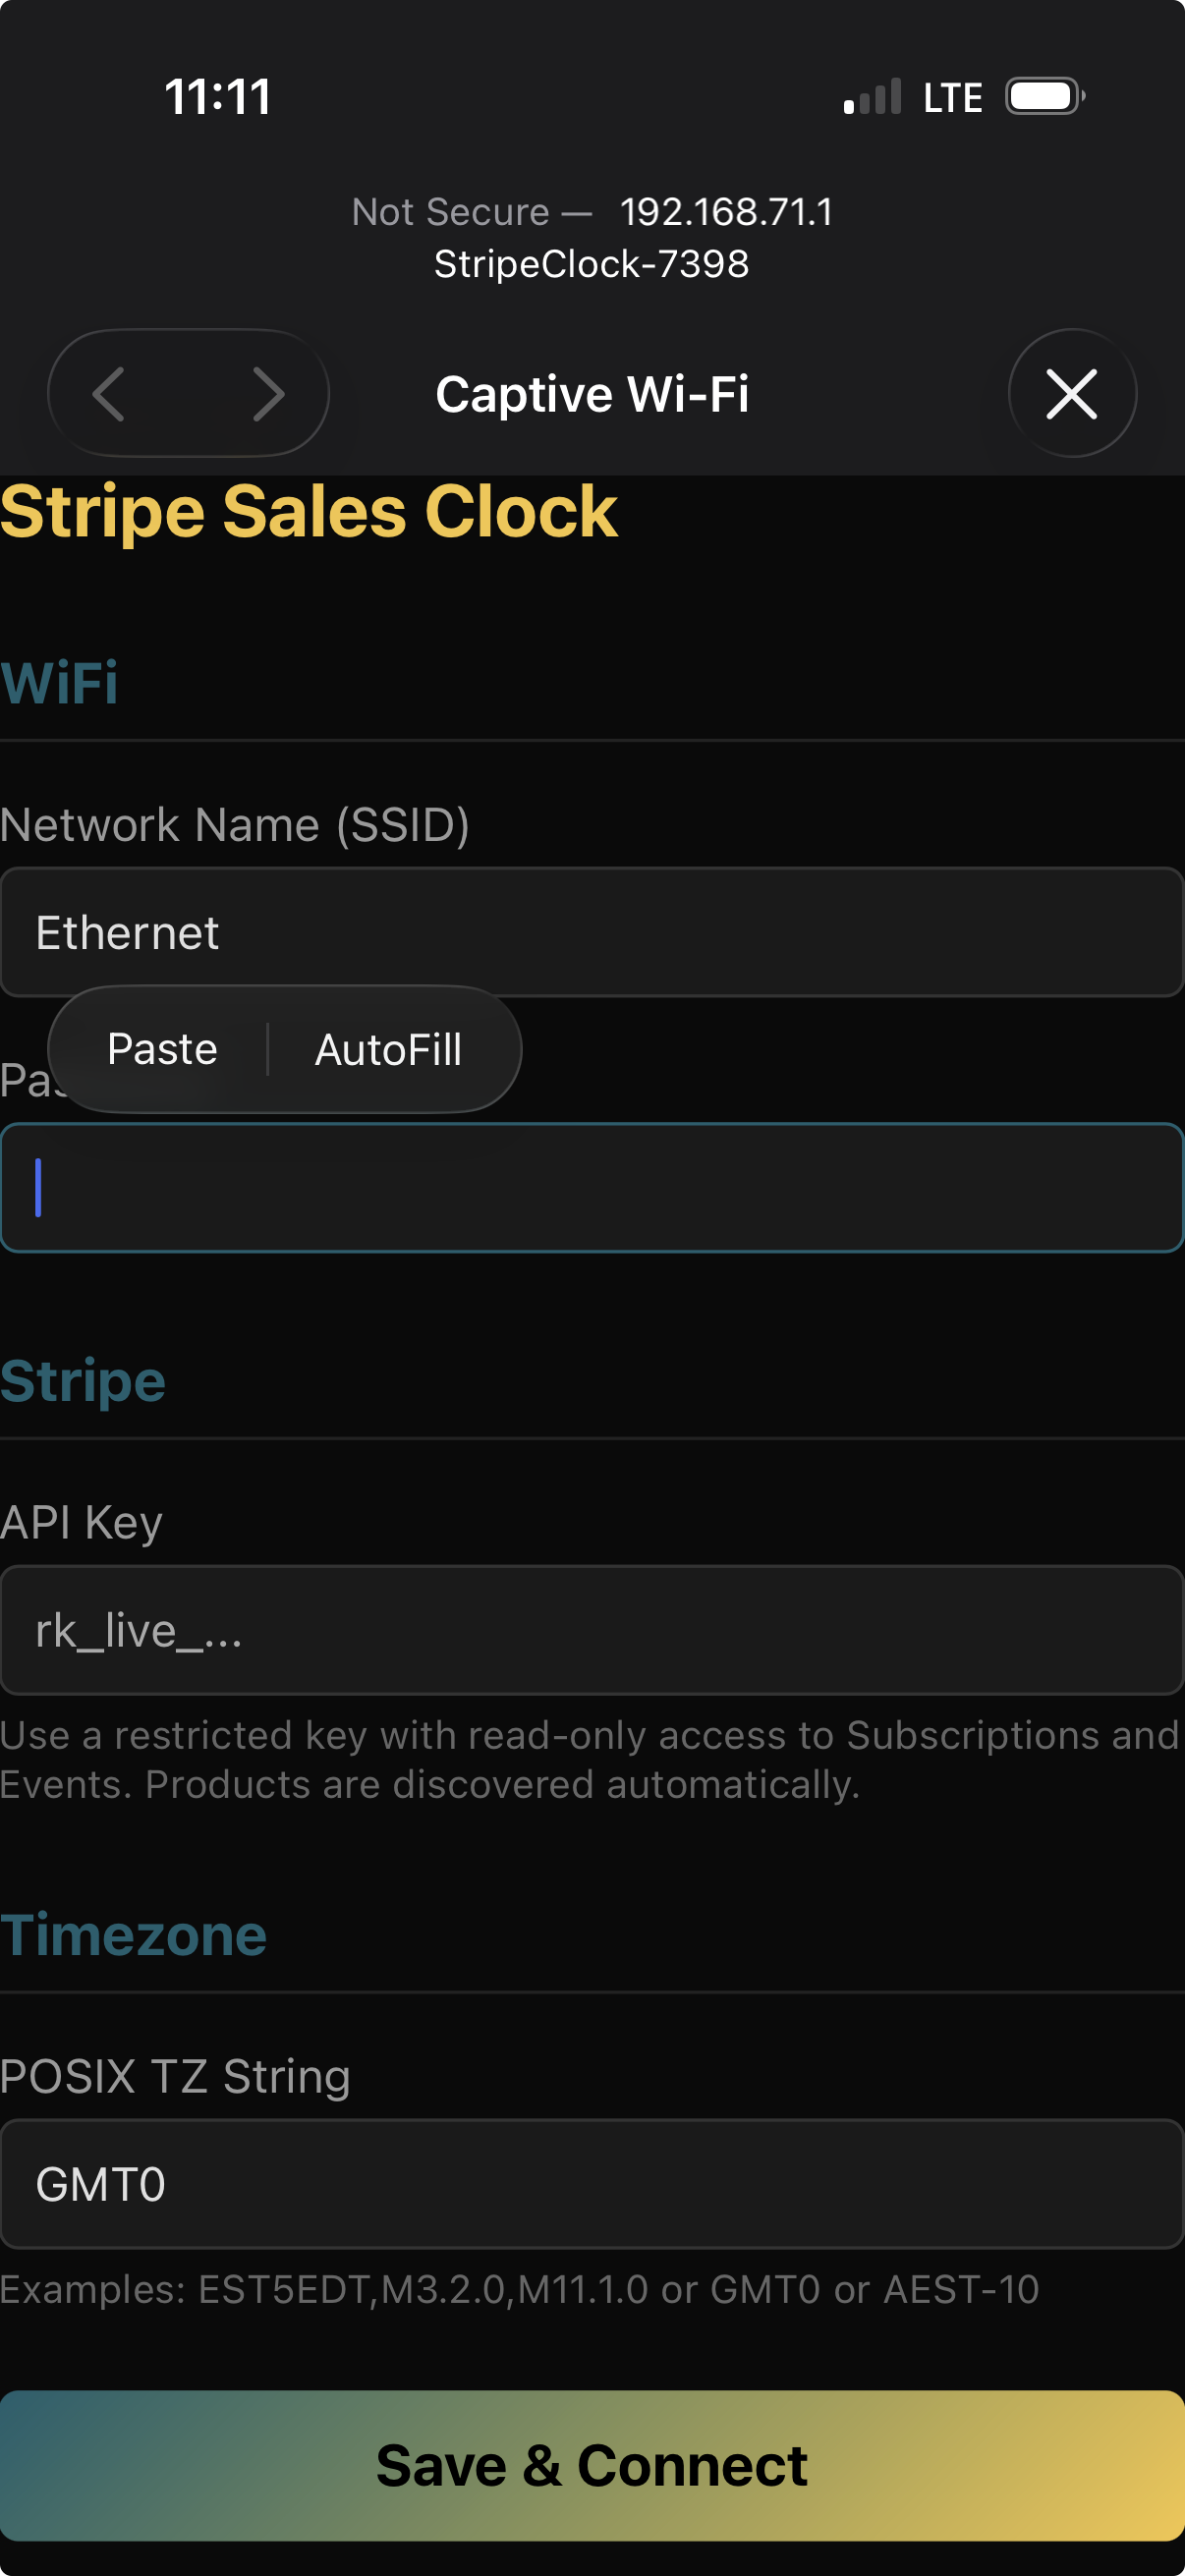
On boot it creates a wireless access point with a captive portal for configuration, like the automatic login page you get with airport WiFi.
To me, this is a perfect demonstration of the power of frontier coding assistants. The activation energy of this project was high, and even then, it allowed me to quickly become more and more ambitious in a very short period of time.
I've had the Ulanzi TC001 sitting doing nothing other than tell the time in the year since I purchased it – another project component doomed to never get any of my time...
Initially I started out flashing it with the AWTRIX3 firmware, and running a Node.js service to update it over the network. It was maybe 30 minutes effort to put together, I showed it off to my cofounders and they loved it! We had just turned on the subscription payments system after iterating on the product with early customers over several months, and it was exciting to see people finding it useful enough to actually pay for it.
I thought it would be nice if they could also have one of these, but the fact that you need basically a whole other server to do the custom logic made it a non-starter. AWTRIX is really meant for smart home hackers.
So I had a bright idea: maybe I can customise the firmware? Set it up so it just communicates with Stripe directly?
Then I had a more fun idea: instead of modifying AWTRIX3, a feature-rich C++ project, how about I get Claude to help me write some firmware from scratch in Rust? Perhaps paring it back to the essentials would be simpler than trying to shoehorn my idea into an already complex system.
I had a vague impression that Rust was good for embedded systems development, but hadn't written any before, so this would really test just how far I could get using a coding assistant to build in a language and runtime environment (ESP32) I was new to.
The convenient thing about this project is that it is fairly unambiguous whether the system works or not – plus it helps that the ESP32 boards are difficult to brick
Make inaccessible, basically.
, and not too expensive
A TC001 on AliExpress is something like €35 delivered.
to replace.
I've been using AI coding assistants a lot over the last few months, and I was still genuinely shocked at how easy it was to get to a basic working state using Claude. However, I can guess at some ideas why it might have been more successful than I initially expected.
Rust – A compiled language that has a reputation for being expressive and thoughtfully documented, with safety features that perhaps makes it naturally amenable to the self-directed feedback loop of agents.
The simplicity of the hardware – the low resolution display and limited features of the system limits the design space. There's a lot you can do with an ESP32, a 32x8 LED matrix and a piezo buzzer – but not that much.
It wasn't without bugs, of course. For example, initially, the screen glitched out continuously:
This turned out to be due to "interrupt latency from WiFi interfering with the WS2812B signal generation in the RMT ISR" – 😵💫 It actually looks pretty cool, and I'll have to keep it in mind if I want to generate an effect like that for some other project, but it's just distracting in this case.
Once the features and basic setup were working, I was able to step back and start to think what would make it fun and easy.
I did not have any success creating actual pixel art with OpenAI. ChatGPT can create things in the style of pixel art, but which are actually thousands of pixels in width and height, but I could not get it to build something to the constraints of the TC001 display. Maybe it's possible, but I did not have the patience to find out.
On the other hand, Claude Code Opus 4.6 seems to be quite capable of creating that minuscule artwork, and some of it looks quite good. However, I didn't realize Opus 4.6 could actually create images before I'd already hand drawn most of what I wanted using PixilArt.
I wasn't really sure what was involved in creating a captive portal. I didn't even Google it before getting Claude to write it, and it turned out to be conceptually relatively straightforward: DNS interception. Your device connects to the access point, and whatever URL it requests, the AP responds with the configuration page.
There are also some magic URLs that the OS checks for, which seem to trigger the familiar "popup" you get after connecting to a network that supports one:
All it really does is save the person setting it up the hassle of knowing what IP to visit in their browser, but it's a detail I really enjoy, since it's one of those technical curiosities that I've briefly wondered about – for however long it took to connect to the WiFi – then forgotten.
The native simulator includes a reasonably accurate replication of the TC001's integrated piezo buzzer, as well as a live Stripe API integration. This was an addition that I just took a punt on once the basic tent poles of the system were working.
From the native simulator, it was a fairly straightforward path to compiling to Wasm, hence the little simulator at the top of the post.
It was fun having a device running in the corner of my office, beeping when a new subscriber arrived, but my original goal was to have a version I could hand to my cofounders. I had ordered another couple of the TC001s on AliExpress, and conveniently they arrived just a day or two before I was due to meet up with David and Clodagh.
This is the point at which I discovered that at some point since I got my own TC001 a year or so back, the manufacturer had apparently decided that 8MB of storage was overkill for a desktop clock, and the new models were shipping with only 4MB of flash memory. This required some slight rejigging of the code – which Claude was more than capable of – ditching my beloved OTA firmware rollback feature.
Another key component is, of course, setup instructions, which I included as a single printed page, with example screens:
David and Clodagh were delighted, and were fortunately both able to get the devices set up easily when they got home, and now we all have little chirping devices to tell us when new customers arrive!
One thing I did overlook was that Clodagh tends to bounce between her home office, and a small office we rent, which means she needs multiple wifi connections configured. Will have to fix that in a future firmware update. For better or worse, I was not able to finish my planned auto-update functionality before handing the devices over. Given how new this is to me I am as likely to brick their devices remotely as improve them, so manual updates from the firmware page will do for now!
There is currently no comments system. If you'd like to share an opinion either with me or about this post, please feel free to do so with me either via email (ross@duggan.ie) on Mastodon (@duggan@mastodon.ie) or even on Hacker News.
PS: I created a tool to create self-contained HTML embeds from Twitter archives while writing this post. You can find it here.
 Claude Code